APP FEATURES
One of the top-rated shopping apps worldwide
Fully customizable and easy to use
-
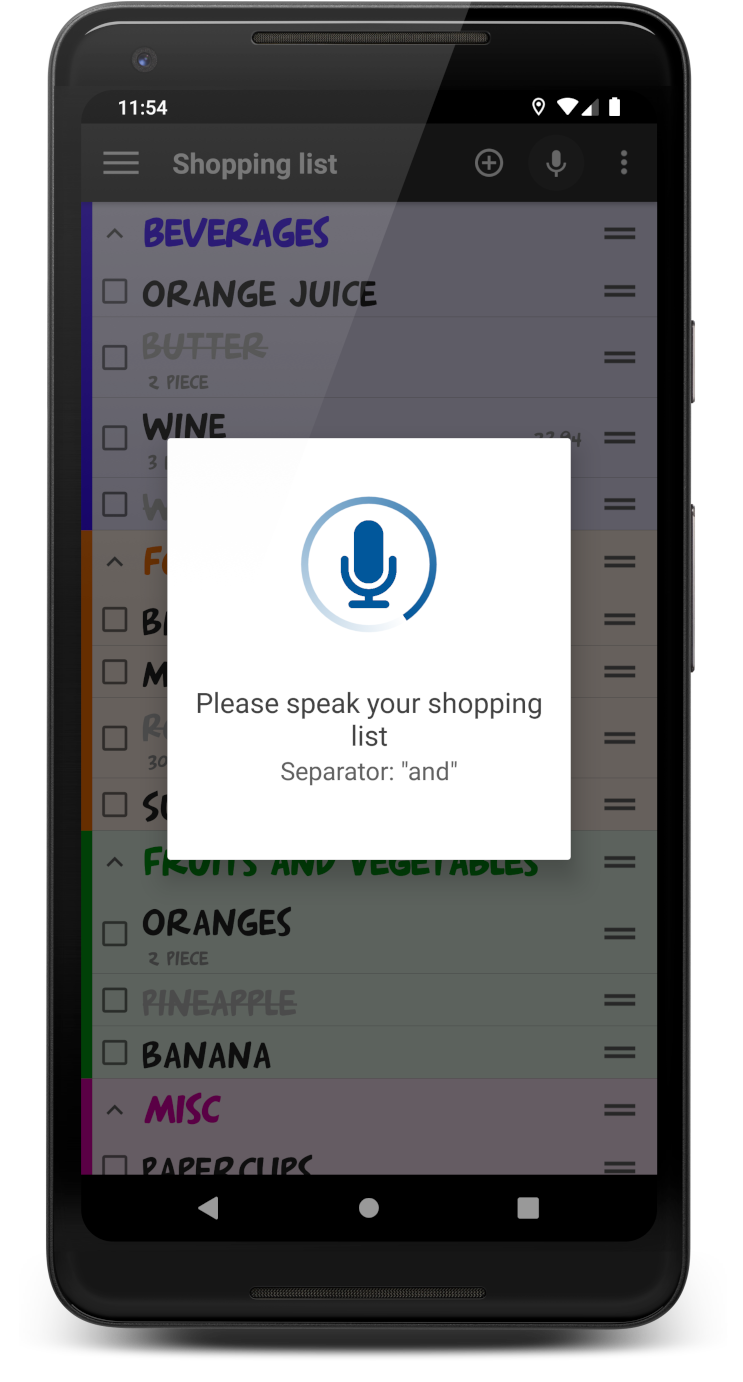
Voice Recognition
Simply speak your list instead of writing
-
Support
Direct and fast email support for every app-related question or problem you might have
-
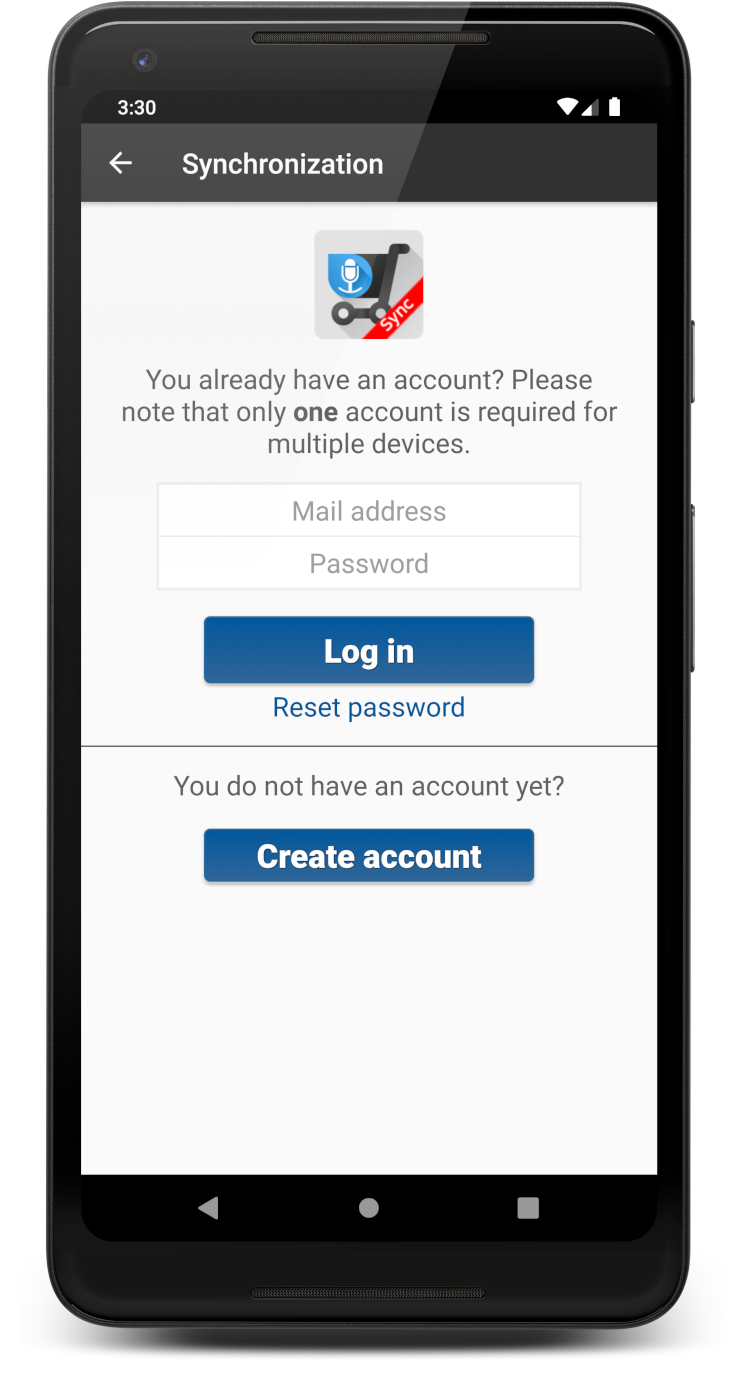
Synchronization
Share the list in real time with your family and friends. Everything encrypted.
-
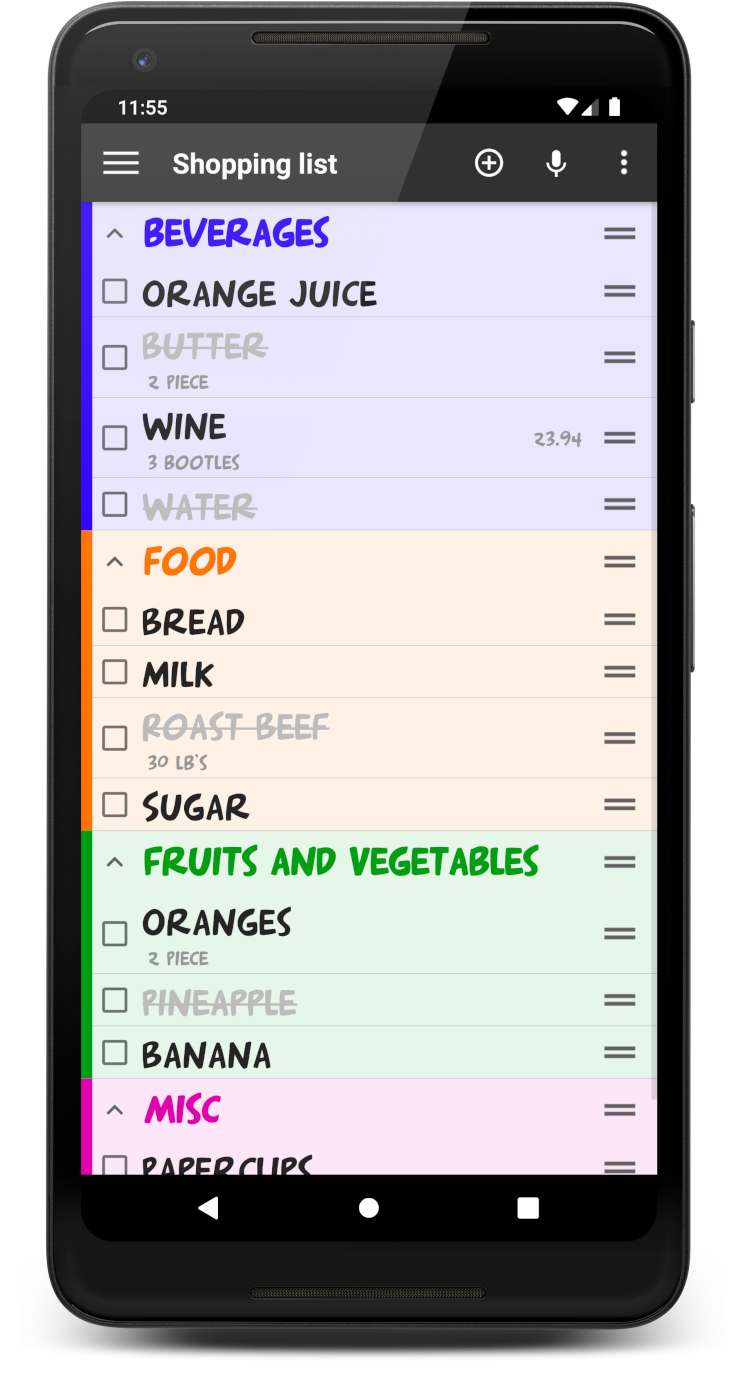
Fully customizable
Edit every aspect of the app to suit your needs
-
Recipes
Import recipes directly from websites and keep them safe for later usage.
-
History
Find often used items in your history.
-
2.5M
DOWNLOADS
-
60k
TOP RATINGS
-
40M
Synchronized lists every day
-
endless
HOURS SAFE
SCREENSHOTS
News About the Shopping App
-
Update 5.8
24.08.2022Comments off. -
Public Beta for 5.8
30.06.2022Comments off. -
Update 5.7
02.11.2021Comments off. -
Update 5.6.11
23.09.2020Comments off. -
Update 5.6
27.08.2020Comments off. -
Update 5.5
08.07.2020Comments off.
FAQ
Here we have summarized answers to the most common questions. If you still have problems, please contact us via the contact form under the FAQ and we will get back to you.
Categories
As you slide more items into the category, you can see a line forming that shows the extent of the respective category. To increase visibility, you can also enable “Change the background color of the items” and “Show horizontal bar over category” from Settings — Categories.
You can assign an item to a new category by dragging & dropping it into the new category, and remove it from the category by dragging & dropping it outside of the category.
To collapse/ expand the category contents, tap on the visibility button (the ‘^’ sign at the left of the category name). In case the visibility button is not enabled, go to Settings — Categories — Show visibility button. Ta-daaa! No distractions on your way to the store if you only planned to buy that extra loaf of bread (and no ice-cream – but why would you even?!).
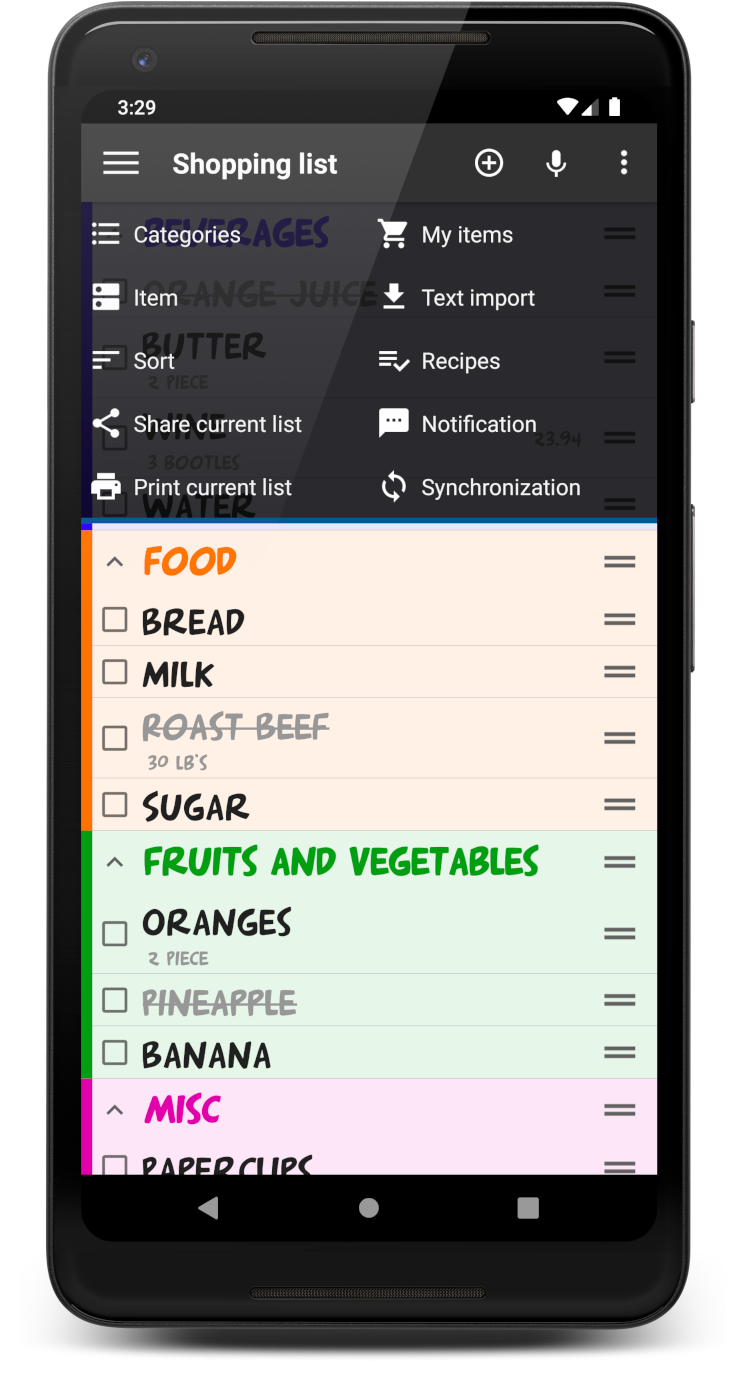
Also, if you wish to expand/ collapse all categories at once, as a bulk action, go to the three dots menu, tap on Categories, and then select ‘All fold up’ or ‘All unfold’ from the sub-menu.
Hard to focus with so many items on your list? Better deal with them one at a time. Categories to the rescue!
You can use categories to group specific items. Tap the three dots menu (top right of the screen) and tap Categories. Choose ‘New category’ and give it a name – naming it something relevant, like ‘stuff’, will always do 🙂
You can even choose a color for your category heading, just to differentiate it from your other stuff. Tap Save category as confidently as you can.
A new category has now been created at the bottom of your list. If there are already items on your list, please drag & drop the relevant items under the new category heading, by holding down the two parallel lines next to the item (the = symbol). Alternatively, as variation is the spice of life, you can move the category up over the desired items.
Synchronization
If you are in doubt whether you have created an account to sync your data between devices, you can attempt to log in. If you receive an alert saying there is no user with this identifier, then you most certainly don’t have an account. Please refer to this article to create one.
However, just in case you actually input an old password, and you are certain you do have an account, please attempt to reset your password. You will find the instructions here.
If the email field vibrates after tapping the Reset password button, then it means there is no user with this email address in the system, therefore you definitely don’t have an account 🙂
If you used a fake email address to create your sync account, you have no possibility to retrieve the password or set a new one. Please create a new sync account, either using a valid email address or a fake one. Retake the steps to sync your lists, same as if you created a new account. Find the required steps here.
If you used a valid email address to create your sync account, you are in luck! You can request a password reset email. Open the Synchronization tab (three dots menu). Tap the three dots again to log out. Open the Synchronization tab again and right under the Log in button there is a blue text that says Reset password. Tap it, and then input the email address you used to create your account. Tap Reset password. An email will be sent to the specified address and you just have to follow the instructions in the email to reset your password.
To have the contents of your lists stored on a server for convenient sharing, you have to register with an account.
We are not a curious bunch, so the lists are account-dependent and protected by passwords (to which we do not have access, so if you lose the password you can create a new one, which will be sent to you on the email address you registered with – simply tap Reset password).
On the first device:
Go to the three dots menu top right of screen and open the Synchronization tab. Tap ‘Create account’ at the bottom of the screen.
Input your email address (note that we only use your email address for the purpose of password recovery). Set a new password and confirm it.
And for those with big concerns regarding privacy in the online, you can also use a fake email. Keep in mind that there’ll be no resetting the password in case you forget it. Not to jinx it, but… “We told you so”! 😉
Confirm you have read the Privacy policy and that you agree with it. Tap ‘Create account’.
Under ‘Releasing a list’, tap on the list name to select the list you wish to release to another device, then tap Release.
The list now appears below, with the status ‘Online’. You can change the status of a list or delete it at any time. Please note that when a list is set to ‘Offline’ and then ‘Online’ again, the existing local lists will be overwritten by the online list. This is to say that any changes that have been made to the lists while they were in Offline mode will be permanently lost! WE CAN’T HELP YOU THERE, HONEST!
Please note that when you choose to delete an online list, by tapping on the Trash can, it only means Synchronization is terminated across all devices. Local lists will not be lost. Releasing the list again after this step will not overwrite the local lists already on the devices.
On any subsequent devices:
Type in the email address corresponding to the account you used to register on the first device, and the password associated with it.
Under ‘Online lists’, make sure you set the slider bar to Online. Now the two lists are in sync, and they will reflect any changes made to them by either party, in real time.
You can see the lists that are currently synced under the three lines menu (top left of the screen). They are marked by a blue cloud outline.
We know how life-saving lists can be, so to prevent any accidental overwrite and subsequent loss of data, we strongly recommended you not to toggle between offline/ online once the lists are in sync.
Miscellaneous
The app only needs a data connection if you have activated the Syncing of your lists to other devices. All other operations can be done offline.
The app can be as simple or as complex as your needs! Isn’t that great?
At its very basic, the app opens with a new default empty list, intuitively named “Shopping list” 😊
Then you add categories to it, to keep everything neat and organized: three dots menu – Categories.
Then you can add your items directly into their assigned categories, to be even more convenient! Simply tap the name of the category and start dictating. If you’d rather type everything in, make sure you go to Settings – Categories – Input mode for click on category and adjust the default to one of the three available modes: Speech recognition (default) – for dictating items, Manually – for typing it all in, or Nothing – so that nothing happens when tapping the category name.
To add a quantity and a price to your item, please touch and hold the item and then select Set price/ Set quantity from the sub-menu.
To add uncategorized items to your list, you can either tap the mic icon at the top of the screen (if you’d rather dictate your items) or the + icon (if you’d rather type them). You can still add those to a category later if you hold and drag the = symbol next to each item. If you cannot see the symbol, enable it from Settings — Items — Show strokes to move.
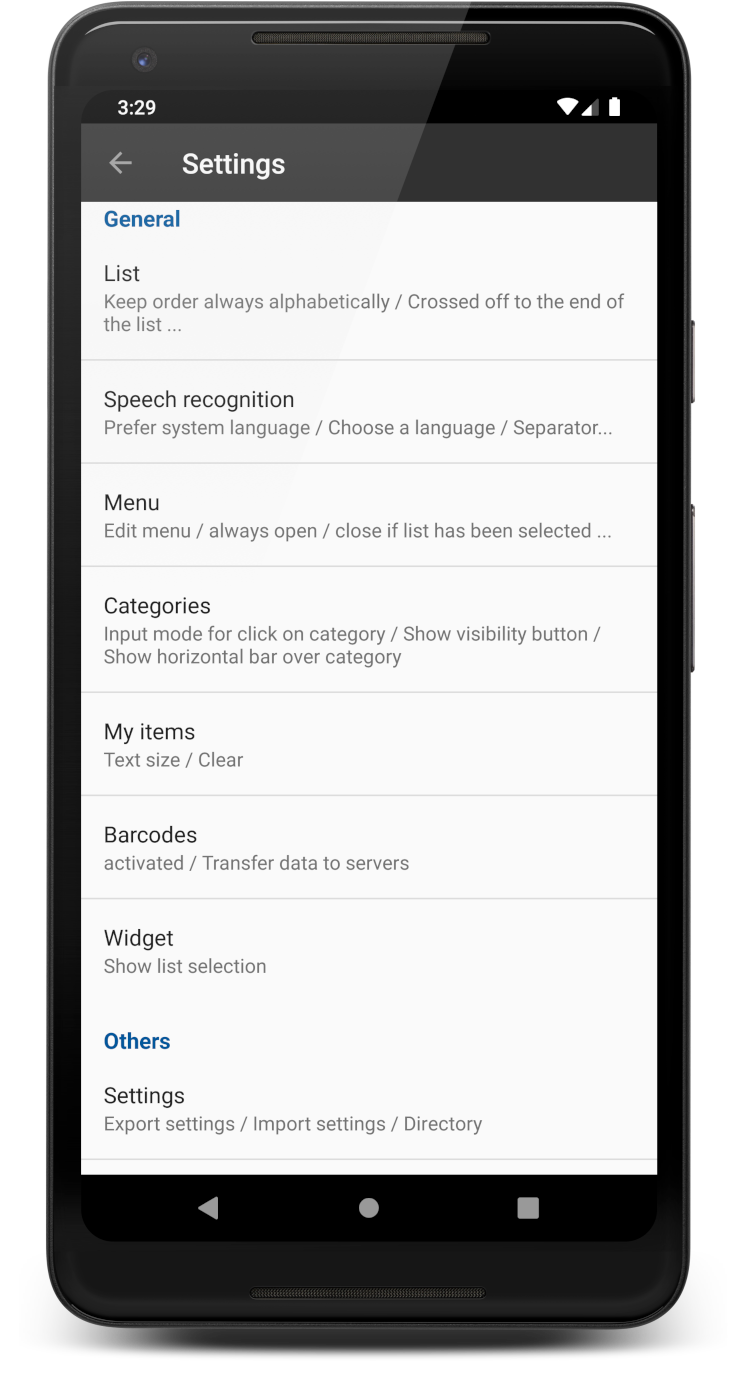
When at the store, simply tap the items as you buy them and they will become crossed off. You can set them to move out of the way, to the end of the list, if you go to Settings – List – Crossed off to the end of the list. Tap the item again to reactivate it. As you do so, it will resume its original position within the list.
To delete items, you simply swipe them to the right. Make sure you enable the Undo feature to prevent accidental deletions: Settings – List – Enable Undo function. In the same menu, tap Time to undo and set the duration the Undo button will remain visible at the bottom of your screen (expressed in seconds)
If you need help with any of the features, or for general questions, please do not hesitate to get in touch with us within the app: three lines menu – Help/Support – Mail (or write us directly at support@shopping-app.net). We’d love to hear from you!
For the time being, the app is only available to Android users. We are sorry for any inconveniences.
Troubleshooting
After you install the paid version, you will notice there are now 2 different apps on your phone. To transfer all your lists and settings from the free version to the PRO version, you can use the Import / Export tool:
1. In the free app, go to Settings — Backup and tap Export.
2. Then open your PRO app and go to Settings — Backup and tap Import.
After you check the transfer really worked, you can delete the free version.
If you encounter any problems, please contact us at support@shopping-app.net.
Payment information is account dependent. You can re-install the Pro version you have previously bought without paying for it again if you simply make sure you do so from the same user account you purchased it from.
Open the Play Store app on your Android device. Check that you are connected with the same account that you used to make the purchase from. Open the hamburger menu (the three stacked lines at the top left of your screen) and tap “My apps & games”. Tap on “Library” and then look for the “Shopping list voice input PRO” app and tap on the “Install” button next to it.
There’s nothing more convenient than saying good bye to those little scribbled shopping lists. Keeping your eyes on an e-list open on your phone is so much better. But maybe you are at the end of a long day. You probably wouldn’t want your phone to die on you, right? If your display stays active for as long as the app is open, then you might notice it drains your battery rather quickly. To prevent this from happening, simply go to the 3 lines menu – Settings – Display. Make sure you un-check the ‘Display stays active when the app is running’.
Please check first if the default voice recognition is set to Google in the Android settings of your device (Android Settings — Language & Input — Language input).
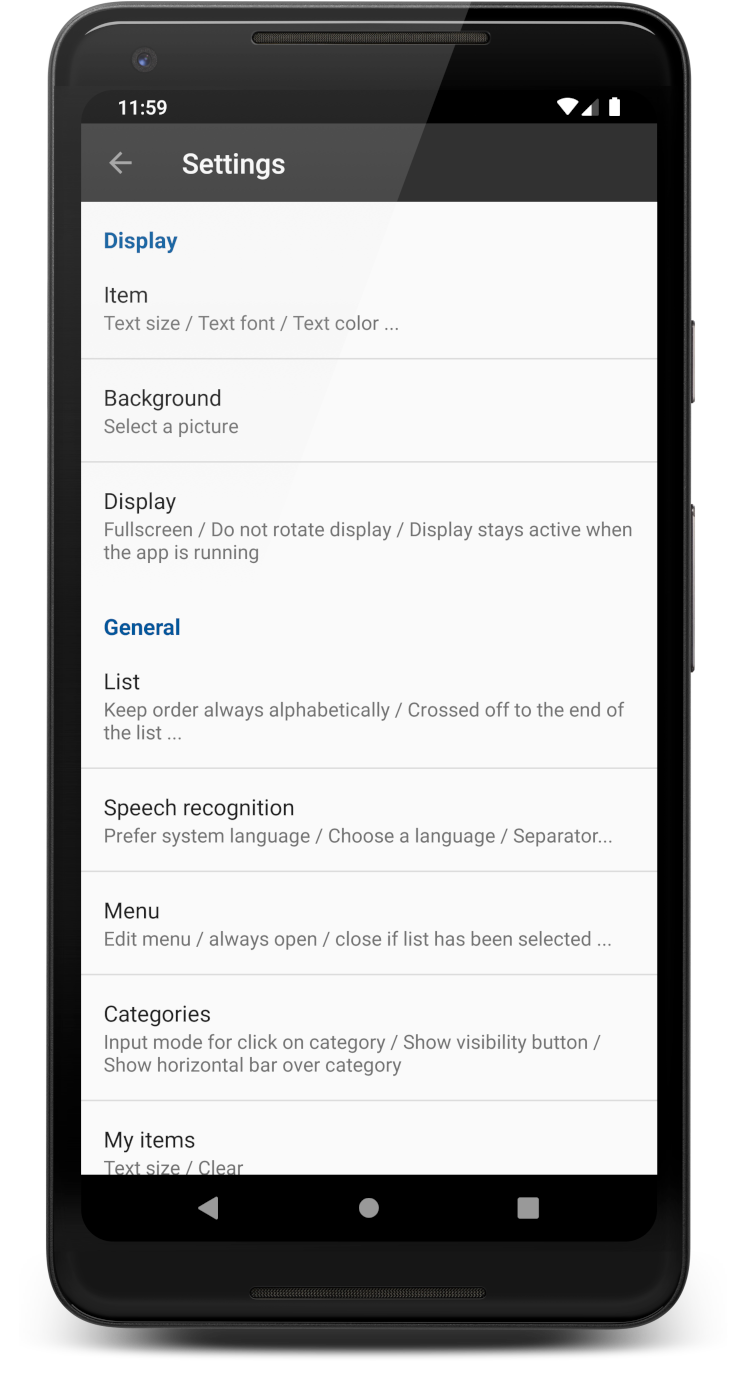
Then activate the system default voice input from the settings menu of the Shopping list app: Settings — Speech recognition — Enable system default voice input.
This message means that you must install the following Google app:
https://play.google.com/store/apps/details?id=com.google.android.googlequicksearchbox
Help/Support
Please contact us with any questions, problems or suggestions for future improvements

